Tools
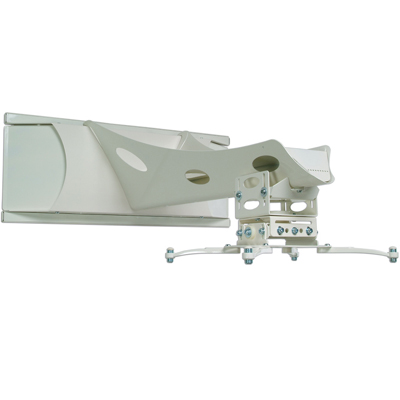
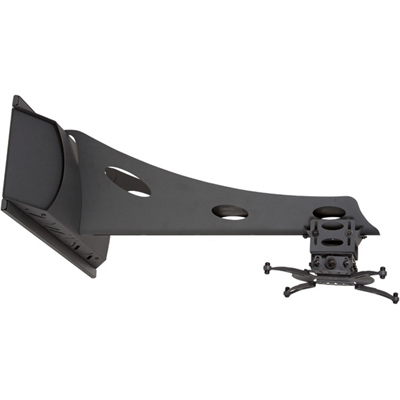
Please ask your question about the Premier UNI-STA or UNI-STB Short Throw Projector Wall Mount Arm - extends 7"-27" from Wall, or if you need help with discomfort or pain at your computer workstation. We typically respond within 1-2 hours during business hours, or the next day if it’s after hours.
Please answer the above question
Not Now
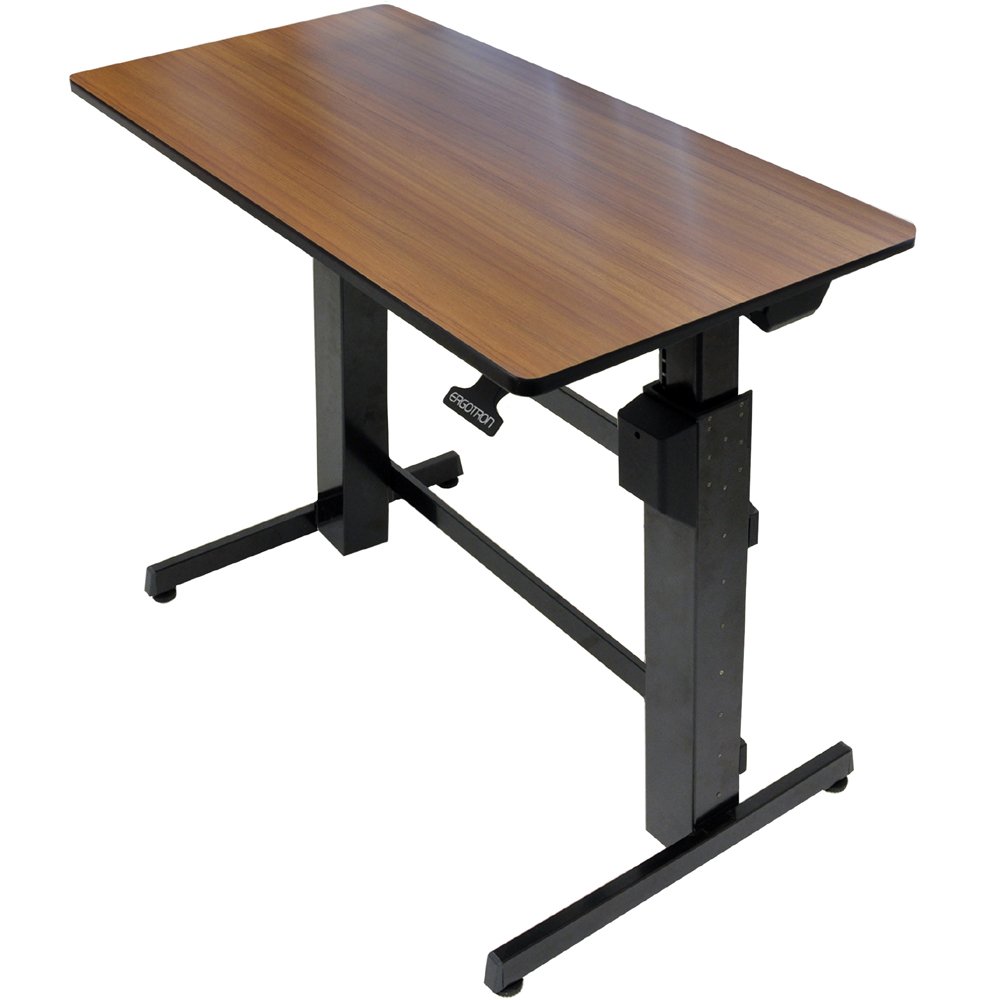
Powered by electric motor, this desk will go up or down with the press of a button.
Pneumatic mechanism moves the desk up and down by pressing a handle till you reach the perfect height.
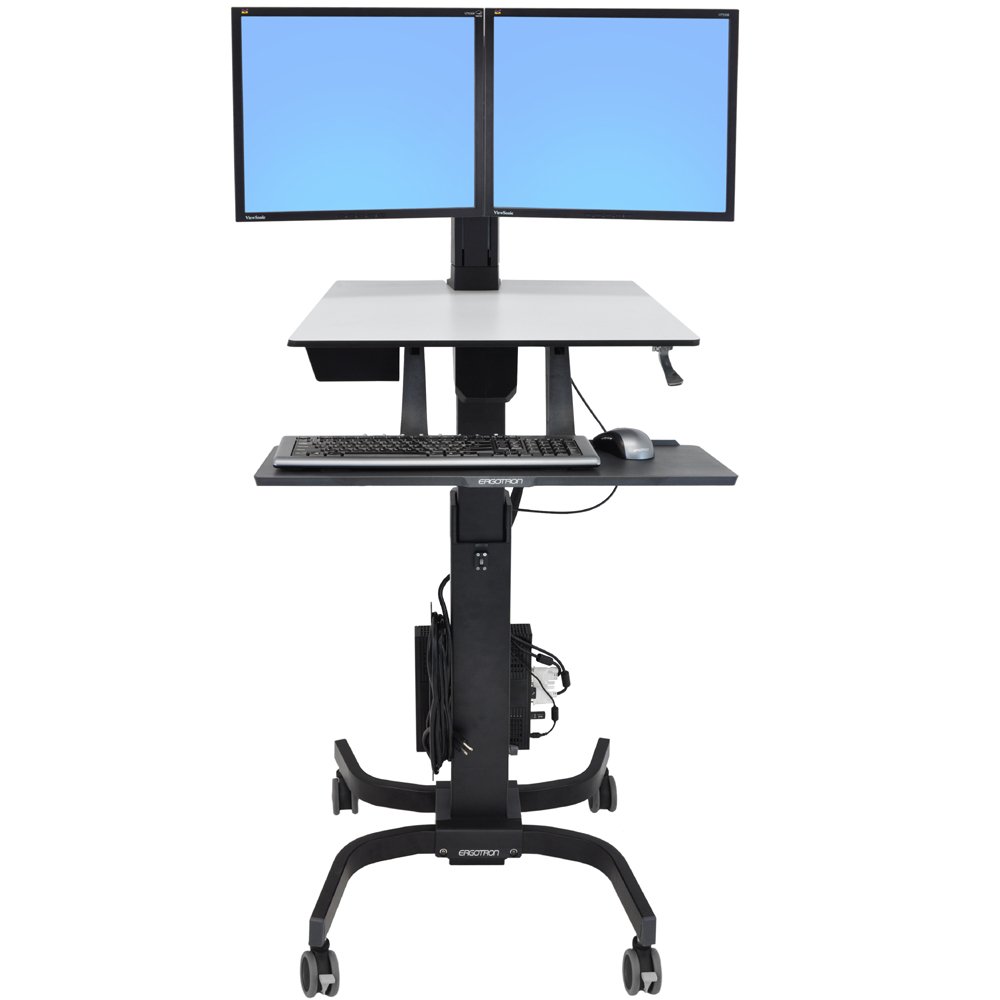
Crank desk adjusts desk height up or down by turning crank handle clockwise or counter clockwise.
Pinset desk moves in incremental heights of 1" by adjusting pins. Suitable only when an occasional change in seat height is needed.